Valheim Combat Basics: Block and Dodge
Scope: Vanilla standard survival; world modifiers, mods and later patches can change the rules
Language: English中文
Key points
- The dangerous state is not low health, it is empty stamina while the enemy winds up — learn to end your own attacks first.
- A raised shield is not a guaranteed block: gear, the incoming attack and your state all matter, and a parry needs its own timing.
- Maximum health affects how much stagger you absorb, so food is part of your defence, not just your damage.
- Pick one main weapon whose range and animations you know, and keep a backup for what it handles badly.
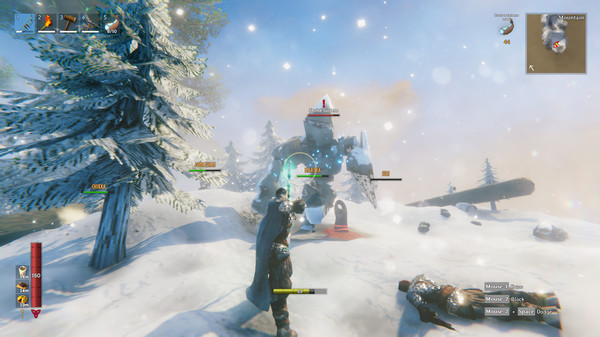
The dangerous state in a fight is usually not being a little low on health. It is being out of stamina as the enemy winds up. Learn to end your own attacks before you learn to raise your damage. Reliably running "defend, short combo, back off" beats mashing attack on a first playthrough.
A raised shield is not a guaranteed block
How well you block depends on your gear, the attack coming in and your character's state, and a parry needs the right timing on top of that — not every shield supports the same move. A tower shield and a parry shield are not used the same way; see Blocking.
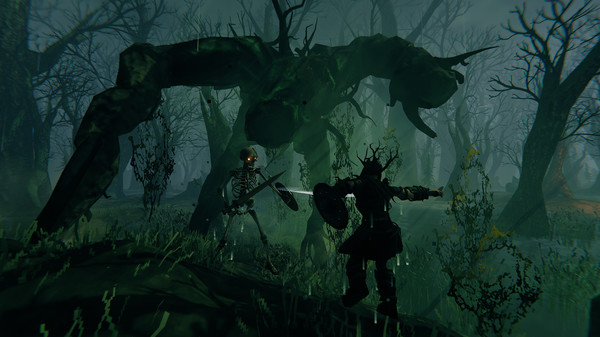
Practise on ordinary enemies you know. Watch the wind-up, and only try more dangerous targets once you can read the rhythm consistently. If one mistake kills you outright, you picked the wrong practice ground, not the wrong number of attempts.
Food is part of your defence
Your maximum health affects how much stagger you can absorb; see Stagger. So if a new shield still leaves you getting broken through, the shield is not automatically the problem — check food, current stamina and what you are fighting at the same time.
Do not assume someone else's successful parry will work for you under different conditions. Check the difficulty, gear quality and food, then try to reproduce it. Starred enemies in particular are a poor choice for eating the first hit on instinct.
Keep stamina for the exit
Throw one short combo at a time, and confirm you can still move or dodge before continuing. When an enemy is knocked back, you do not have to chase it; it has stepped out of range, which is exactly the time to recover and look for other threats.
Against several enemies, try to keep them in roughly the same direction, and do not back up blindly into new terrain. Steps, slopes and narrow doorways all change how your attacks feel; moving onto flat ground is sometimes more effective than changing weapon.
Pick one main weapon you know, then cover the gaps
Choose a main weapon whose range and animations you understand. A backup exists for what the main one handles badly: airborne enemies, threats at distance, or fights that need a different damage type. Do not swap in a weapon you have never practised right before a trip just because the stat sheet is higher.
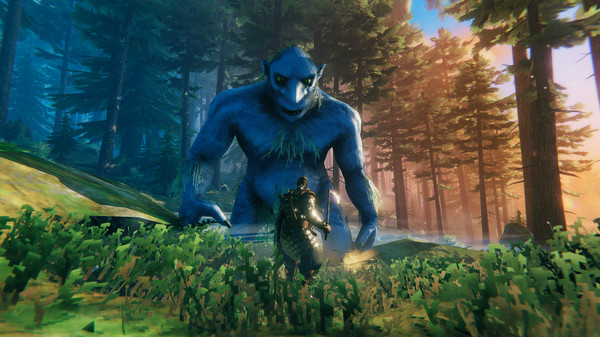
If your damage looks clearly wrong, check the enemy's resistances and whether you are landing hits at all. Against an enemy that resists a damage type, carrying more weapons of that same type does not fix anything. The damage advice on a boss page fits a specific fight better than a generic "best weapons" ranking.
A simple practice routine
Find one ordinary enemy. Watch one full attack. On the second attempt, defend and hit back exactly once. When that is steady, add one more hit. Once you can do it comfortably, add terrain and multiple enemies. The goal is not zero mistakes; it is knowing, after a mistake, whether to back off and recover or head home.
Four actions and what each one is for
| Action | What it is for | What to watch |
|---|---|---|
| Block | Absorbing an attack you cannot avoid | Gear, the incoming attack and your state all change the result — a raised shield is not a guaranteed block |
| Parry | Punishing an attack you can time | Needs the right timing, and not every shield supports the same move |
| Short combo | Damage you can stop on purpose | Confirm you can still move or dodge before you continue |
| Back off | Recovering stamina and looking for other threats | A knocked-back enemy has stepped out of range — you do not have to chase |
This page does not list stamina costs; treat the table as a practice order, not a cost table.
Sources
The mechanics and numbers in this guide come from the material below. Open the original pages to check them yourself.
Related guides
Valheim Food Guide: Three Food Slots
How to fill Valheim's three food slots for exploring, melee and magic, based on health, stamina and Eitr needs and what your kitchen can actually supply.
v1.0.12Valheim Eikthyr: Summon Items and Fight Plan
Bring two deer trophies, learn to read the melee and lightning attacks, and turn the drops from Eikthyr into your first mining trip in the Black Forest.
v1.0.12Valheim Bonemass: Blunt Hits, Poison Resist
Summon Bonemass with ten withered bones, pick a damage type that actually works, handle the poison cloud and adds, then use the Wishbone in the Mountains.
v1.0.12