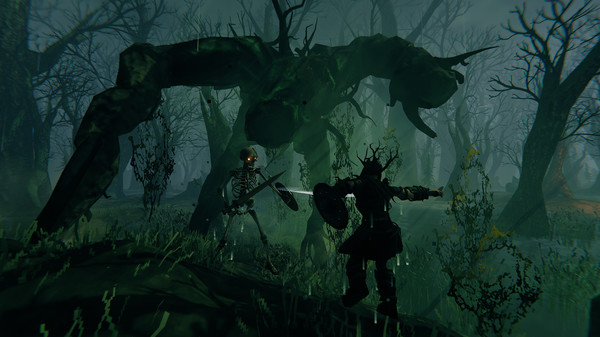
Valheim Kall Fimbulbringer: Three-Phase Plan
Scope: Vanilla standard survival; world modifiers, mods and later patches may change the rules
Language: English中文
Key points
- Three Malicious Blood open the Aesir Passage — go in repaired, fed and rested.
- In phase two the boss is invulnerable inside ice: kill the summoned avatars instead.
- Phase three adds fire, frost and lightning damage, so bring resistance and a stamina buffer.
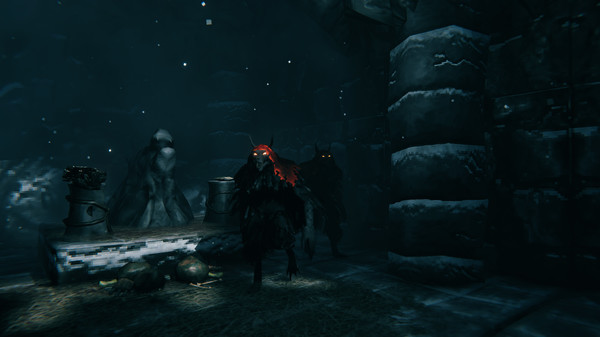
Kall Fimbulbringer is the final challenge of the Deep North. Do not read it as one long health bar: the target changes during the fight, and hitting the same body may stop working. Learn what each of the three phases asks, then pick gear and supplies. This guide lists no exact health or damage numbers; patches make those disputed.
Before you enter, the question is sustained fighting
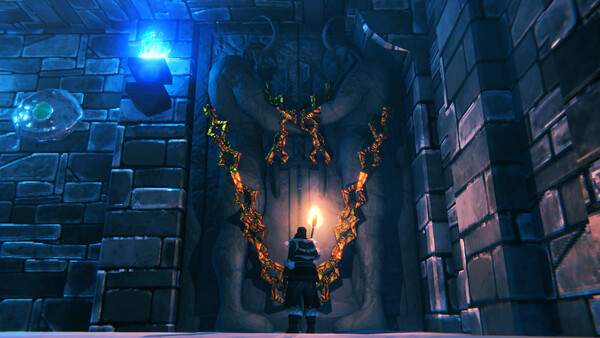
Once you have finished the Malicious Blood and Aesir Passage prerequisites, go home, repair, refresh your status and top up food. Beyond your main gear, check that healing items are easy to reach and that your backpack is not full of gathering materials you do not need. The entry requirements are covered in the Deep North progression guide.
Store your spare supplies at home separately, and actually test the return point outside. Work out how you would get back after a loss instead of spending your entire stockpile on one attempt with no way back.
What each phase asks for
In phase one the boss attacks you directly. In phase two it hides inside an invulnerable ice block and sends out avatars of the seven earlier bosses in turn (Eikthyr, The Elder, Bonemass, Moder, Yagluth, The Queen and Fader), with at most two avatars on the field at once. In phase three the boss returns to the fight with stronger moves that now carry fire, frost and lightning damage. Attack and resistance details are covered in this Kall boss guide and the community wiki entry.
For weapons, effective slash or blunt damage is worth considering first, along with fire and frost protection. Do not ignore the target's resistances because you are used to one elemental weapon — and do not switch to a completely unfamiliar move set without practising it.
Phase one: put a cap on every attack
Run the loop "read the wind-up, answer it, hit back briefly, look again". Do not judge attack range by the size of the boss model; charges, slams and sweeps usually cover far more ground than they look like they do. If you take repeated hits, shorten your counter-attacks — the goal is a window you can repeat reliably, not the damage pace from someone else's showcase.
In co-op, do not all chase the same turn at once. Leave each other room to watch, and anyone in bad shape should say where they are pulling back to so that teammates do not drag new attacks over.
Phase two: repick your target instead of attacking out of habit
Once the boss is immune, move your attention from the old health bar to the real targets on the field. Reduce whatever is limiting your movement first, and finish one target at a time rather than leaving several enemies alive on a sliver of health.

Simple team calls help: "switch target", "clear this side", "keep the lane open" — you should not be explaining full tactics under pressure. Solo, it matters even more to hold the space you have cleared instead of chasing and walking into a circle of enemies.
Phase three: use a fixed checklist against greed
Every round, re-check your footing, stamina and supplies. When something blocks your route, fix the route first; when you get a damage chance, still keep enough resources for the next response. Do not change a rhythm that is working just because the boss health bar is getting low.
After a loss, record which phase it happened in, whether your target was correct, and whether you could still move. The three phases point to different problems, and raising your stats alone may not help. Fix the one thing that cost you the most, then try again — that makes more progress than rebuilding everything each time.
Summon items
| Item | Qty |
|---|---|
| Malicious Blood | 3 |
Drops
| Item | Qty |
|---|---|
| Sacrificial Blood | 1 |
| Crown Jewel | 1 |
Sources
The mechanics and numbers in this guide come from the material below. Open the original pages to check them yourself.
- S001 Deep North progression guide www.valheim.tools Accessed
- S002 Kall boss guide mobalytics.gg Accessed
- S003 community wiki entry valheim.wiki Accessed
Related guides
Valheim Deep North: Eternal Pyre to Endgame
The 1.0 Deep North order of operations, linking Embers, Petrified Tissue, Bloodgold, moulds, the Intricate Key and the invasions into one workable route.
v1.0.12Valheim Intricate Key: Mould to Mörkhalla
Craft the Deep North's single-use key step by step: mould versus cast, the workstations each stage needs, and why you should plan for more than one key.
v1.0.12Valheim Death Recovery: Get Your Gear
A reliable Valheim corpse run: what to do after respawning, how to approach your tombstone, how to recover and leave, and how to split roles in a group.
v1.0.12