Valheim Ashlands: Landing and Outposts
Scope: Vanilla standard survival; world modifiers, mods and later patches may change the rules
Language: English中文
Key points
- Treat the landing as its own task: reach the shore, clear it, set up protection and a way back, then go home and resupply.
- You beat The Queen first, and her drop feeds the Ashlands unlocks; normal progression sails here on a Drakkar, not a regular Longship.
- The shield generator runs on bone-based fuel and helps against ash fall and outside projectiles — it is not a dome that keeps every enemy out.
- Scout a fortress and judge the route before you bring assault supplies; seeing the entrance is not a reason to push in.
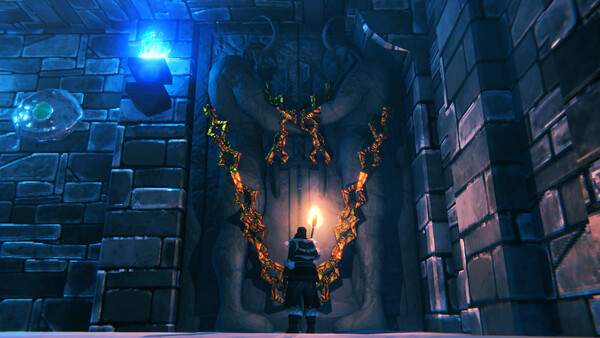
Your first Ashlands fight usually happens before you have a base. Treat the landing as its own task: reach the shore, clear it, set up protection and a way back, and then go home and resupply. You do not need to find a fortress on the first trip, and you certainly should not load everything you own onto the ship.
After the Queen, check your new crafting options
In progression terms you beat The Queen first, and her drop feeds the Ashlands unlocks — see the official Ashlands preparation notes. If you already have an older drop sitting in a chest, check whether the current crafting screen recognises it instead of treating it as a placeholder with no use.

Sailing here needs a vessel suited to Ashlands waters; normal progression uses the Drakkar rather than treating a regular Longship as the universal answer — see the progression guide. Take a short trip first to get used to how the hull turns and docks; a dangerous coastline is the wrong place for your first practice run.
Your landing spot has to support a retreat
Watch the terrain and the enemies as you approach, and do not have everyone leave the boat to chase at once. Solo, your priority is creating space you can hold; in co-op, name who clears the shore and who protects the crossing. Clearing one small usable area beats running up and down the whole coastline.
A good landing order is: handle the direct threats, protect the key structures, connect the route home, then widen your exploration. Do not put your only portal home on an edge that can be attacked at any moment.
What a shield generator actually protects
The shield generator runs on bone-based fuel and helps against environmental hazards such as ash fall and projectiles from outside, but it is not a dome that stops every enemy from entering — see Shield generator.
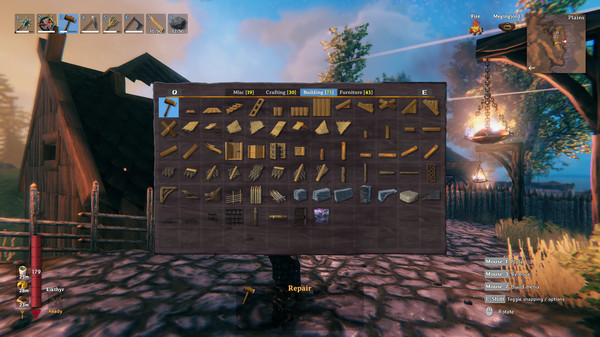
Once it is up, check its coverage and its fuel; do not see the dome and start expanding structures outward. Keep key chests, supplies and the portal within a range you can maintain, and leave yourself room to deal with threats that get close.
Scout the fortress before you bring assault supplies
When you find a fortress, mark the route and judge whether you can travel it reliably. If scouting has already cost you most of your status, go home — being able to see the entrance is not a reason to push in. Bring the tools, combat supplies and a clear objective on the proper trip.
Resource upgrades can come in batches. Point the first batch at the gear and production you are actually using, and avoid opening too many new recipes at once. When better transport unlocks later, re-plan your logistics instead of keeping the inefficient first route forever.
When to prepare for Fader
At minimum you should be able to return to your outpost reliably, have a steady supply of food and healing, hold the fortress-related materials, and know where the boss is. If every trip means rebuilding the outpost and drinking all your potions, shorten your range first. The most reliable progress in this stage is a front line that gets easier to maintain, not just more markers on the map.
Recipe · Eternal Pyre
| Material | Qty |
|---|---|
| Stone | 10 |
| Fader Relic | 1 |
Recipe · Shield Generator
| Material | Qty |
|---|---|
| Iron | 5 |
| Copper | 5 |
| Shield core | 1 |
Sources
The mechanics and numbers in this guide come from the material below. Open the original pages to check them yourself.
- S001 official Ashlands preparation notes www.valheimgame.com Accessed
- S002 progression guide valheim.fandom.com Accessed
- S003 Shield generator valheim.fandom.com Accessed
- S004 valheim.wiki valheim.wiki Accessed
- S005 valheim.fandom.com valheim.fandom.com Accessed
- S006 valheim.wiki valheim.wiki Accessed
- S007 valheim.wiki valheim.wiki Accessed
Related guides
Valheim Fader: Bells, Ground Tells, Retreats
How to prepare the Fader summon, read the ground spikes, fire and meteors that reshape the arena, and what the win opens up toward the Deep North.
v1.0.12Valheim Sailing & Ore Hauling Guide
Valheim sailing from your first real ship: planning routes and landings, handling headwinds, running ore home, and cutting losses when a ship goes down.
v1.0.12Valheim Portals: Pairing and Ore Limits
How Valheim portals pair, how to check which items block teleporting, and how to name outposts so your portal network never strands you in the field.
v1.0.12