Last reviewed: 11 September 2026 · Newest game update reflected: 2026.08.18.12.05 (18 August 2026). This site has 20-plus pages and no single "start here" walkthrough, because the game itself doesn't have one either — Mumpitz Games ships a store description and a tutorial, not a strategy document. This page is the order we'd read them in, sorted by when each one actually becomes useful, not by category.
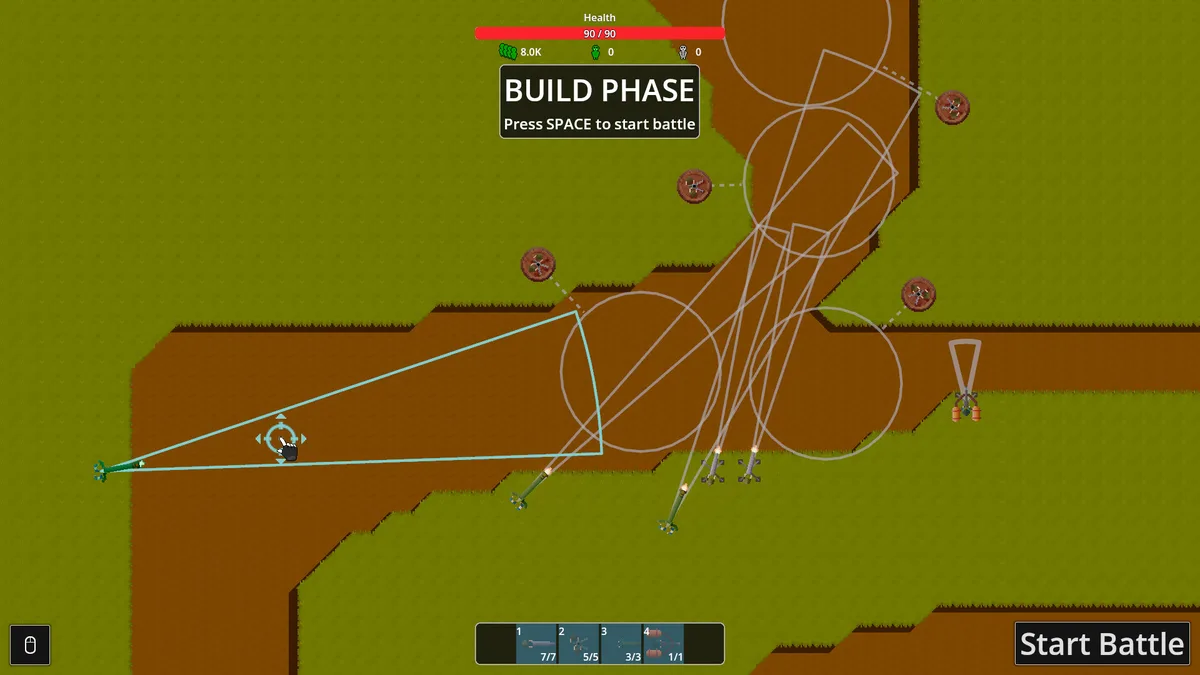
Before you place a single turret
Start with 5 beginner mistakes. It's short, and it front-loads the two errors that cost the most time: buying more of your best turret instead of unlocking a new one, and front-lining the tesla coil. Both are corrected in minutes once you know to look for them, and both are expensive to un-learn twenty levels in.
Read the orc flow mechanic next, even before you've hit a wall. It's the single idea every other level-specific page on this site assumes you already have: orcs behave like fluid looking for an overflow point, not a queue, so killing them before a chokepoint doesn't reduce how many arrive at your base per second. Once this clicks, half of what looks like "the game is unfair" resolves itself.
Learn the toolkit
With the flow mechanic in hand, all 7 turrets gives you the actual numbers — rate, damage, penetration, range — for everything you'll be placing. Read turret roles right after it. The stat table alone makes turrets look like they're competing on DPS; the roles page explains why a cannon, a grenade launcher and a tesla coil aren't actually doing the same job, and why a defence built from only one of the three (power, support, cleanup) stalls no matter how upgraded it is.
Then abilities — the four click-triggered attacks that sit alongside your turrets, two of which are capped at three uses per map. The budgeting logic here (cheapest ability first, save the nuke) comes up again on nearly every hard-level page later in this list.
If you want the single turret this site returns to most often, the tesla coil page is worth reading on its own — it's the one turret whose stats actively mislead you about where to put it.
Hit the first real wall
Most players stall somewhere around level 3, and 3.2: why difficulty suddenly spikes is written for exactly that moment. It's the first level that punishes a linear build (more cannons, more gunners) and rewards a multiplicative one (a laser corridor plus a grenade slow) — the same lesson 6.1 tests again later, in a harder form.
If you're not stuck yet, read the upgrade tree and how much grinding it takes before you get there. It explains the resource economy — every run pays out, won or lost — and gives you the actual median playtime (around 8 hours) so "how long is this game" stops being a guess.
Specific levels, once you reach them
These four pages exist because their levels generate a disproportionate amount of community discussion, and each one compiles multiple players' independent setups rather than a single guide's opinion:
- 4.2: why chokepoints beat frontline turrets — eight tight chokepoints, and three players who mostly agree on where to kill.
- 5.2: the lips, explained by three players — two named chokepoints and a center lane that only fails if they don't hold.
- 6.1: the four-turret achievement — three published layouts that disagree, and what that disagreement tells you about your own upgrade tree.
- 6.2: the damageless run explained — not an achievement, a community-invented challenge, with the part the most-read guide's screenshot can't tell you.
Read whichever of these matches the level you're actually on. There's no benefit to reading all four before you need them — each one assumes you've already read the flow mechanic and turret roles pages above.
Achievement hunting
Once the campaign itself isn't the blocker, all 11 achievements lays out every unlock rate and which level each one is realistically attempted on, and the achievement tracker turns that into a checklist that always tells you the statistically cheapest one left. The no-turret run is worth reading early in this phase — it's really an ability-upgrade check, not a skill test, so there's no reason to save it for last.
If you're here before buying, or between updates
Two pages sit outside the natural progression because they answer questions that come up before or after actual play: PC and Steam Deck requirements if you haven't bought the game yet, and update history if you want to know what's changed since a guide (on this site or elsewhere) was written — balance has already moved at least twice since launch. The Supporter Pack is there if you're deciding whether to pay more; it contains no gameplay content.
Common questions about using this guide
Do I need to read all of this before playing? No. The first two links in "before you place a single turret" are the only ones we'd call prerequisite. Everything else is reference material — read it when the specific problem it solves shows up.
I'm stuck on a level not covered here. What do I do? Read the orc flow mechanic and turret roles first — both generalize past the specific levels this site documents, because they describe mechanics rather than a single map's layout.
Is there a single "best" turret or build? No page on this site claims one, and the turret roles framework argues against the question itself: a build's composition across power, support and cleanup matters more than which specific turret fills each role.
Where do I find the raw numbers instead of the explanations? All 7 turrets and abilities are the two reference tables; almost every other page on this site links back to one or both rather than re-quoting the figures.
What if a guide's numbers don't match what I see in the game? Trust the game. Turret and ability figures throughout this site come from a player-measured stat sheet dated 31 July 2026, and balance has changed at least twice since — see update history for what's shipped.
Should I read the achievement pages before or after finishing the campaign? After for the no-ability constraint achievements, since the 6.1 page recommends clearing a level normally first so you know its routes. Before is fine for the no-turret run and Overkill, since both are closer to ability checks than placement puzzles.
Does this guide cover a level list past 6.2? No — 6.2's own page explains that Mumpitz Games has not published a level list, and 6.2 is simply the highest number that appears in community guides. If that changes, this page and the roadmap above will change with it.
- Compiled from on-site pages: /towers/beginner-mistakes/, /towers/orc-flow-mechanic/, /towers/all-turrets/, /towers/turret-roles/, /towers/abilities/, /towers/tesla-coil/, /towers/upgrade-grind/, /levels/level-3-2-difficulty-spike/, /levels/level-4-2-chokepoints/, /levels/level-5-2-the-lips/, /levels/all-achievements/, /levels/achievement-tracker/, /levels/no-turret-run/, /levels/level-6-1-four-turret-types/, /levels/level-6-2-damageless/, /platform/pc-and-steam-deck/, /platform/supporter-pack/, /platform/update-history/ — an ordering of existing pages, no new research